Screenshots
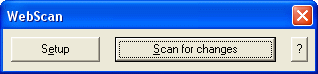
When WebScan starts, if you don't specify -autoscan or -autocopy on the command line, you will have a choice of what to do:
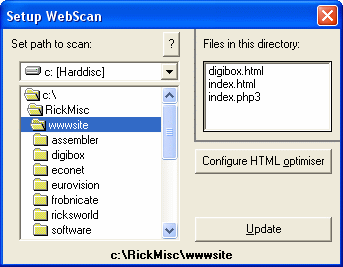
Clicking "Setup" allows you to set up where WebScan will scan:
You can also set up the HTML optimiser, I have chosen to disable it:
Clicking "Scan for changes" will begin the scan process, which is as follows...
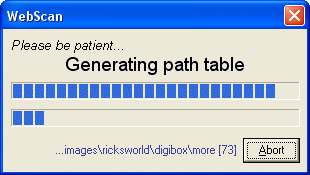
Step One: Generate path table.
This means WebScan is examining the directory structure of the base directory. In other words, it is building a 'map' of where files may be.
Step Two: Load previous path table.
This means WebScan is retrieving the information on the path table as it was during the previous scan.
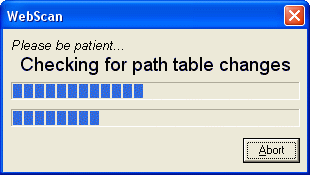
Step Three: Checking path table changes.
If any folders have been created or removed, this is when WebScan will spot them.
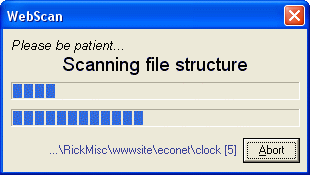
Step Four: Scanning file structure.
Up until now, we've only been looking at folders. Now we look at the files within all of these folders, starting with the first step which is to see what files are actually present, and to retrieve some information on each of them.
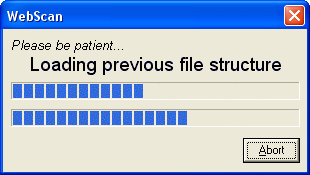
Step Five: Loading previous file structure.
As with the path table, WebScan keeps a record of the file structure and here the previous structure is loaded into memory.
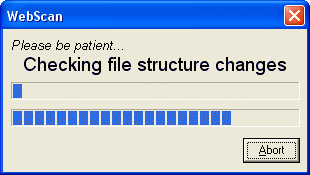
Step Six: Checking file structure changes.
This is the part that takes the longest amount of time (and considerably longer with the unregistered version of WebScan). Every file is compared to ensure it is the same, and if not, is it new? has it changed? has it been deleted?
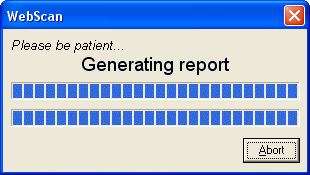
Step Seven: Generating report.
The last step is to make up a report for you to read.
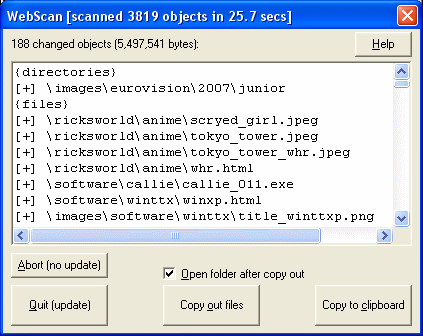
And here is the report:
Directories are listed first, followed by files.
Within each block, deleted files/folders are given first (prefixed [-]), followed by new files/folders (prefixed [+]), and then changed files/folders (prefixed [/]).
In the example above:
- "\images\eurovision\2007\junior" is a new folder.
- No folders have been deleted or modified.
- All of the files visible on-screen are new; but there are a
total of 188 changed objects (which breaks down to 1 new folder
and 187 new, deleted, or changed files).
You are also shown that there are 188 changed objects (files and folders), which total a little over five and a third megabytes. The scan looked at 3819 objects and it did that in 25.7 seconds (registered version, the unregistered version would take about 270 seconds).
The actual speed of scanning depends greatly on how fast your computer is. Mine is a 450MHz Pentium III (a dinosaur) so you'd probably see it all happen much more quickly.
You may click on:
- Abort (no update) - to exit WebScan without updating the stored
information.
This means that when you run WebScan again, it will report the exact same list of
changes. This is useful for times when you want to see what has changed without doing
anything about it.
- Quit (update) - to exit WebScan updating the stored information.
This means that when you run WebScan again, it will report NO changes. Use this to
commit the state as 'current', i.e. after you have updated your website or whatever.
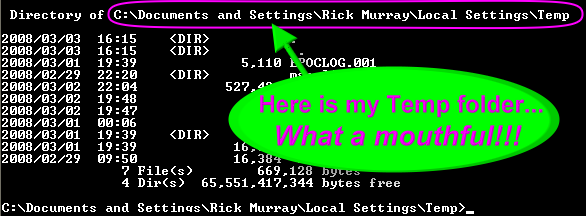
- Copy out files - to create a copy of the changed files in your temporary folder,
all correctly in their relevant sub-directories.
This means you can select them, archive them, and send them to your web server; or drop
the base onto a suitable FTP client to upload them in turn. What you do depends upon your
setup; all this does is separate the new and changed files from all of them.
- In addition to this, if the HTML optimiser is active, then your HTML documents
will also be optimised during the Copy Out.
The versions placed in your temporary folder are the optimised versions, the
originals are not touched.
- Open folder after copy out - in the old days life was easy and all this temp junk
got stashed in C:\Temp; but nowadays with XP and Vista and
multiple user profiles, your temporary files may be somewhat harder to find.
Therefore this option, when ticked, will open an Explorer window in the WebScan copy out
folder once the copying has been performed.
In other words, no longer worry where the files are put, WebScan will take you
there.
- Copy to clipboard - copies the stuff you can see in the text window (the list of
deleted/new/changed objects) to the clipboard.
|