It is the 1515th of March 2020 (aka the 23rd of April 2024)
You are 3.149.214.32,
pleased to meet you!
mailto:blog-at-heyrick-dot-eu
Baked potatoes in a halogen cooker
I have not used the halogen cooker, mainly due to not really knowing what to do with it.
I did buy a book (Halogen cooker recipes) from Amazon, but have no idea where I put the book. Somewhat annoying...
However, I did work out something to do with the cooker. Baked potatoes.
The instruction manual (a mere pamphlet) suggests that potatoes can be cooked at 180-200°C in 15-20 minutes. This is a joke, unless they mean cooking a handful of the ones that are golfball size.
So I shall present you an easy ten step method of making nice baked potatoes in a halogen cooker.
Requirements
Ingredients:
Two decent sized baking potatoes (Bintje, Charlotte, Vivaldi, King Edward...)
Some butter
About 50g of cheddar
Pepper (optional)
Equipment:
A halogen cooker
A microwave (optional, recommended)
A plate
A fork
A knife
A grater
An obedient child to wash up everything afterwards
Preparation time - about fifteen minutes (five before cooking, five during, five after).
Cooking time - seventy minutes (50, then 20).
Calories - who gives a crap. ☺
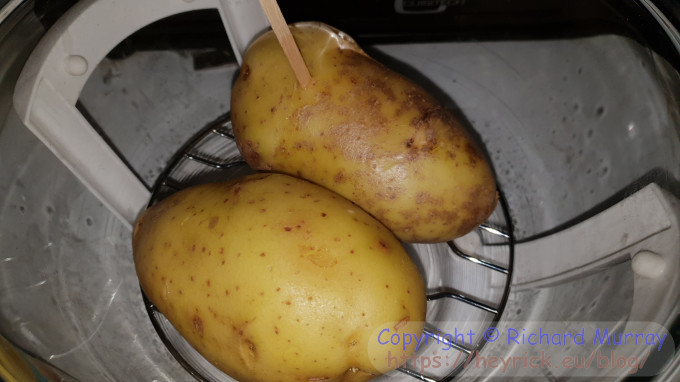
Step One - poke the spud
Poke some holes in the potato using a fork, a knife, or in my case a bamboo stirring stick. It doesn't matter what.
Poking the potato.
The reason for this is to allow steam to escape, preventing the risk of an exploding potato. It doesn't go kaboom!, it's kind of rare and not that big a deal, it's just horrible to clean up, especially if you don't notice and all the bits cook into the sides of the oven. So best to poke the spud a few times.
More technically, note all potatoes are identical. Some, when subjected to heat, have the cells swell up but retain the water. The starch within geletinises. Other potatoes have the cells rupture which causes the water inside to be lost in the form of steam. Too much steam needs somewhere to go.
This is why some potatoes are described as 'waxy' and others as 'floury', it's due to what happens when the potato is heated, and why some are better for baking than others.
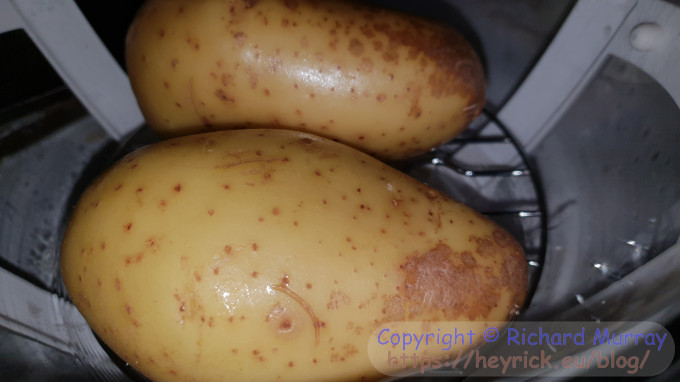
Step Two - grease it
Now you'll need to apply a coat of grease to the potato. I dampen a piece of paper towel in sunflower oil and rub the potato with that.
Greased potato.
The reason for this is to help raise the skin temperature (due to the oil) to trigger the Maillard reaction, which will make a nicely browned skin.
Note that when you place the potatoes in the oven, they should not be touching - this allows the hot air to blow over all of the potato.
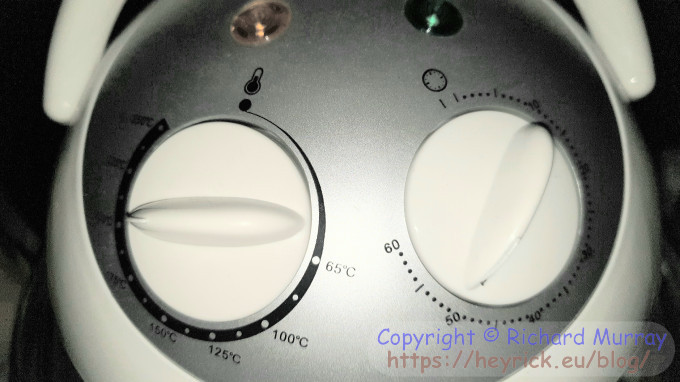
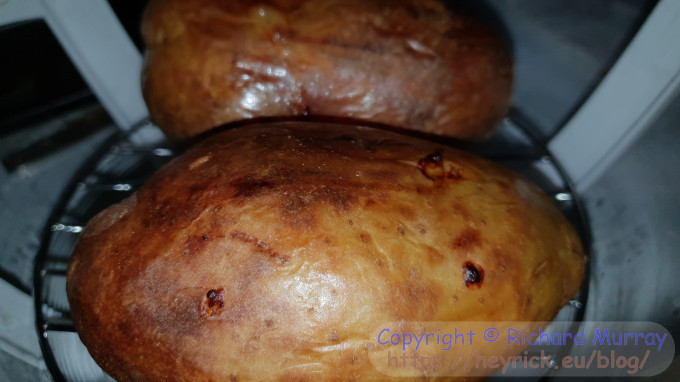
Step Three - first cook
Set the temperature to 200°C, and the timer to 50 minutes.
Oven settings.
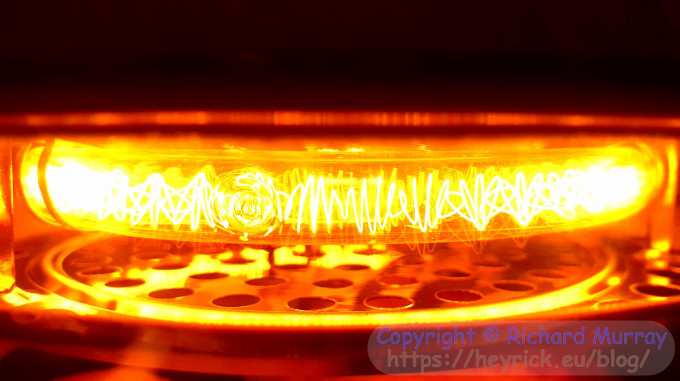
Step Four - twiddle your thumbs
Patience! The cooker is doing its thing.
Oh, pretty!
Do NOT try to see this with your eyes - it's very bright. Use strong sunglasses, or better yet, a camera with the shutter mostly closed.
Remember, your halogen cooker is likely drawing something in the order of 1200-1400W, so already it's consuming half what a small electric oven would require. It's small size means it can reach temperature faster than an electric oven of any size (even with a simple glass 'wall'). Due to the fan to circulate heat, it will also heat more evenly than an oven without a fan.
Step Five - turn the potatoes
When the bell pings, carefully lift the lid but keep a hold of it (the bottom is hot and it's fragile). Turn the potatoes over. You should use tongs or something, because it is an oven and they are bloody hot.
Guess who reached in and turned them over, and regretted it. Yeah... <sigh>
Turn the potatoes.
Now put the lid back on and cook them for a further twenty minutes, same temperature. This is to provide a more even cooking and get them nicely done all over.
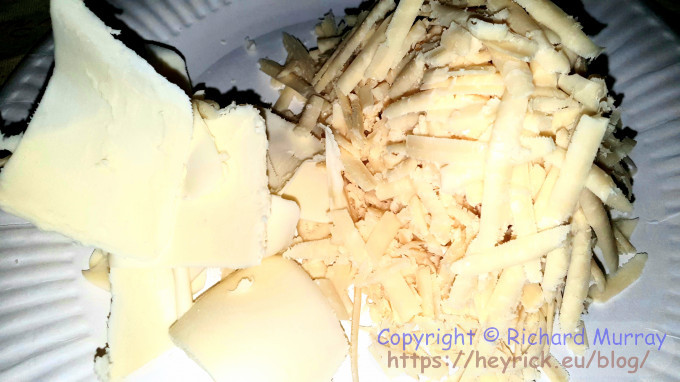
Step Six - sort out cheese and butter
If you have a four-way grater (the type with big grater holes, small grater holes, a thing like a smile, and a face that is these evil little metal things that risk tearing chunks out of anything including fingers), grate about 50g of cheddar using the big grater part.
Then cut off some slices of butter. If your grater has the face with the wide grater bit that looks like a smile, you can just pass the butter across this to slice pieces off.
Cheese and butter.
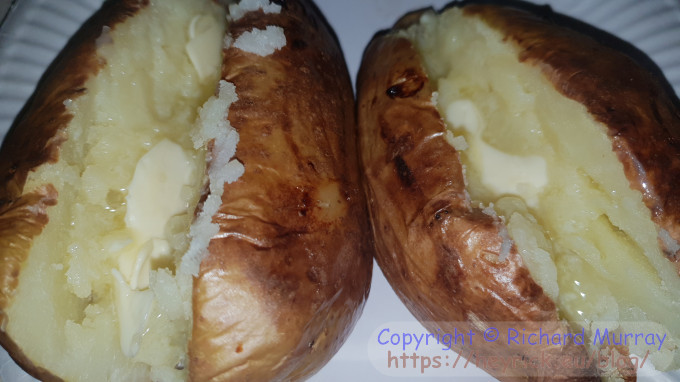
Step Seven - buttering
Remove the potatoes from the oven and cut in half lengthwise. With a fork, mush up the insides a little and then add the butter slices.
It won't take long for the butter to melt, so mush around the insides as it does so.
Buttering the insides.
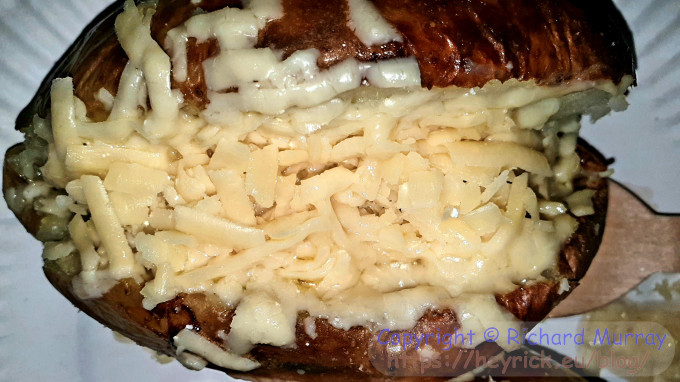
Step Eight - add the cheese
Divide the cheese in half and put half into each potato. You'll quickly discover that a small amount of cheese goes quite a long way.
Cheddar filling.
Step Nine - make the cheese melty (optional)
Pass the whole lot through the microwave for sixty seconds.
Melty-melty!
You're aiming to warm the cheese so it's slightly melty, not to turn it into yellow goo. That's why only sixty seconds.
Step Ten - yummy!
Add pepper if you like, then enjoy your meal.
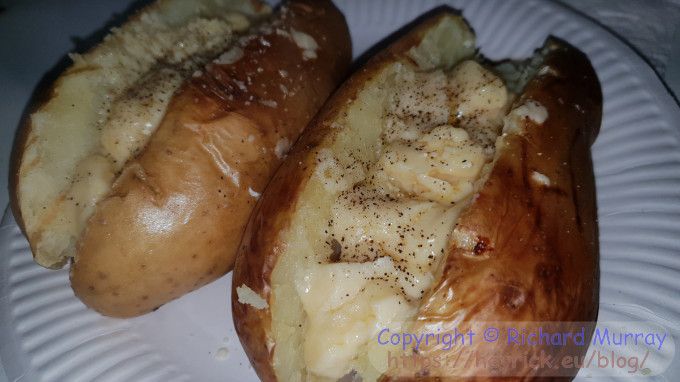
Yummy!
This final picture is from earlier in the week. The cheese was broken into chunks (as I have only just bought the grater). Better yet, the potato on the right is a "Blanche" from the supermarket, while the one on the left was a "Bintje" from my garden.
In terms of texture, my Bintje seemed to be a little drier, or maybe the Blanche was wetter? In terms of taste, my Bintje was mildly sweeter, but to be honest there wasn't that much in it, and you're unlikely to really notice with a healthy dose of cheese and pepper.
Options and ideas
Heat baked beans, and throw them into the potato instead of the cheese, adding just a tiny drizzling of cheddar on top for extra pizazz.
Fill it with chicken tikka.
With a frying pan, caramelise some onions and mushrooms, use them to fill it.
Don't cut them in half, hollow them out a little. Break an egg into each, then return to the oven until the egg is cooked.
Fill with scrambled egg.
Boil some broccoli, strain and mix in some chedder. Fill spud with this.
Tomato pasta, mozzarela, and pepperoni pieces. Pretend it's a bulky pizza!
Be boring - fill it with a salad.
I might try to egg/broccoli variations some time soon. The chicken tikka sounds nice, but there's no Waitrose anywhere around here...
More specifically - France has a history of Arabic immigrants and colonisation as well as a special agreement with Turkey (signed in 1965), so the little local town where I work has three places selling kebab and other unpronouncable things that I think are from Tunisia?
Britain, in the other hand, has a history of Indian immigrants and colonisation, so Brits are well aware of things like tikka and one doesn't need to go far to find an Indian (as in takeaway).
Amazon kitchen scales
I was looking at scales in the supermarket, because the one I have is old and rather prone to error. If you pick up something and put it down four times, you'll get four different weights reported. It's also quite erratic at incremental measurements (like adding anything to a bowl).
So really, I needed something better.
The starting price at the supermarket was twenty euros. I looked on Amazon, and found one of their own brand devices for twelve euros (well, €11,99). It was 5.58pm. They promised that if I ordered in the next two minutes (before six), I'd get it tomorrow.
It arrived at twenty past eleven.
Nicely, they thought to include two AAA cells, so I just need to unwrap the plastic stuff from the batteries and put them back in.
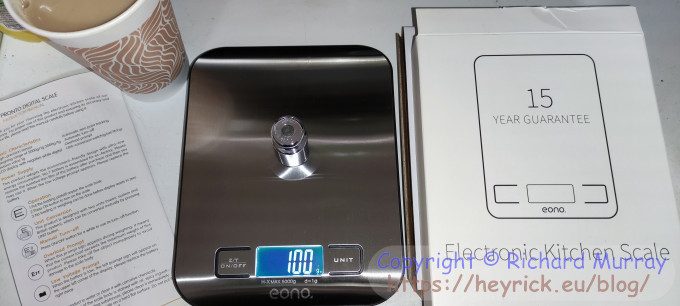
The front has two controls and a blue/white backlit display. It can weigh from 1g to 5kg (5000g) in 1g increments.
The control on the left is for on, tare (reset to zero), and long press for off.
The control on the right is for the measuring method. The default is grams. It can also measure in ounces or pounds:ounces.
There's also a millilitre range, but since you cannot tell the scales the density of what is being measured, it will simply report the weight in grams and pass that off as ml. This is correct for water (1g = 1ml), mostly correct for milk, but for oil you'll likely be around 10% over.
Interestingly, the manual doesn't even mention the ml mode.
It's quick to respond, and as can be seen from the photo, is bang on. My 100g weight read 100g. I placed a ceramic bowl on the scales, reset to zero, and the 100g weight was exactly 100g.
Kitchen scales
Underneath, each of the four feet is a weight sensor. I think this is for improved accuracy. Something I noticed with cheaper scales (that have the weighing platform on a central pole) is that the weight reported can differ slightly depending on whether it is in the middle or the edges of the platform. In the case of this device, the platform is the top of the body and the whole unit itself is used for measurement. I placed my 100g weight in various places, and it measured 100g consistently.
Narcissists!
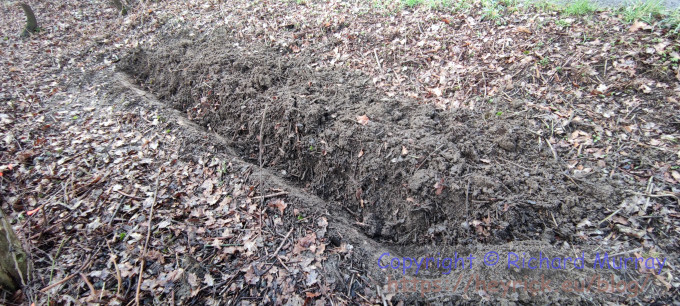
While waiting for the post, I dug a trench.
A trench.
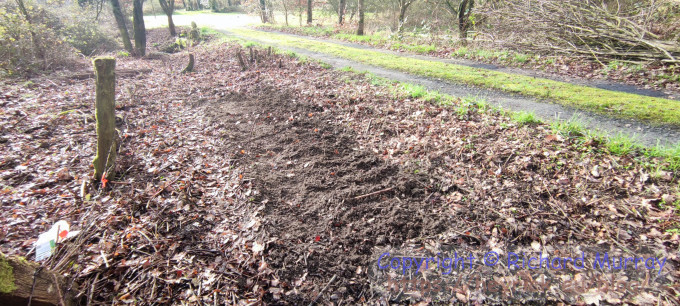
I laid narcissus bulbs (that's daffodils to normal people) into the trench, and then covered it back up with dirt.
A covered trench.
It's a little late to be planting daffodils, and their condition is unknown. Plus, critters might think they're dinner. There's also a very real risk of the bits of bramble root in the ground beside the driveway starting to sprout. So this is mostly a "let's see what happens" than anything else. The pack of bulbs cost €2,50, so if I get some flowers out of it, it'll be something nice for the entry into the property. Beats a massive pile of bramble, no?
Your comments:
Please note that while I check this page every so often, I am not able to control what users write; therefore I disclaim all liability for unpleasant and/or infringing and/or defamatory material. Undesired content will be removed as soon as it is noticed. By leaving a comment, you agree not to post material that is illegal or in bad taste, and you should be aware that the time and your IP address are both recorded, should it be necessary to find out who you are. Oh, and don't bother trying to inline HTML. I'm not that stupid! ☺ ADDING COMMENTS DOES NOT WORK IF READING TRANSLATED VERSIONS.
You can now follow comment additions with the comment RSS feed. This is distinct from the b.log RSS feed, so you can subscribe to one or both as you wish.
David Pilling, 29th January 2022, 23:24
I'd give your bulbs some hope at this late stage - members of the amaryllis family contain raphides (a needle-shaped crystal of calcium oxalate) which make critters reluctant to eat them. Tulips or crocus are another game - dinner. Bulbs usually start to grow roots, even out of the ground, during Winter.
J.G.Harston, 2nd February 2022, 13:19
The problem I see with those sort of scales is that the display is hidden when you put any decent-sized container on them. Like my bathroom scales that have been moving further and further out of sight over the years. ;)
This web page is licenced for your personal, private, non-commercial use only. No automated processing by advertising systems is permitted.
RIPA notice: No consent is given for interception of page transmission.